スポンサーリンク
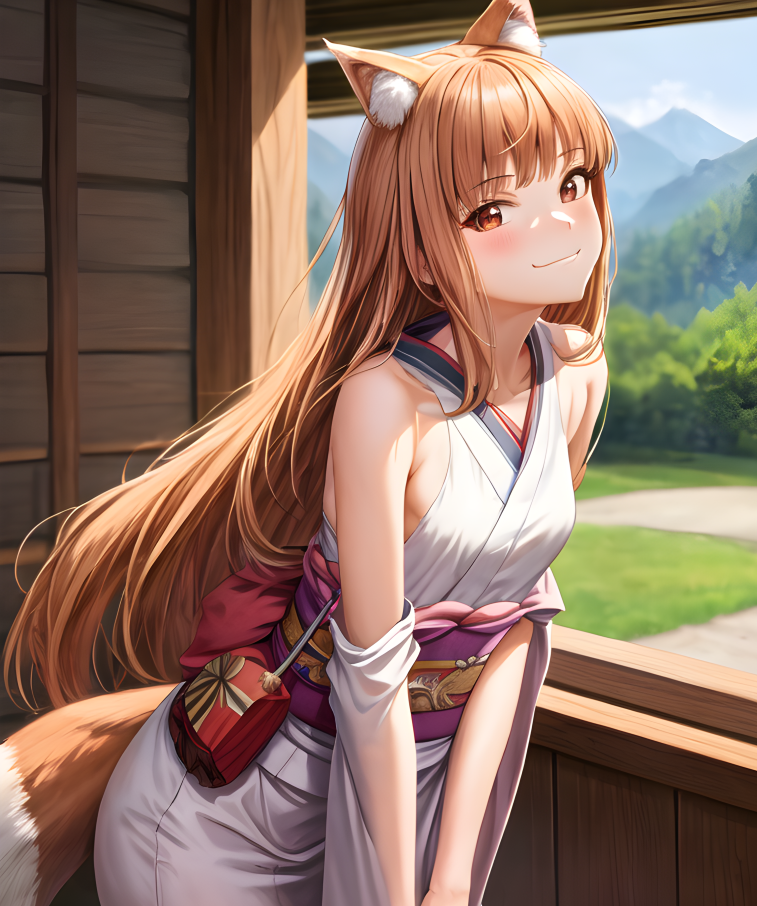
I've been experimenting with LoRA related to animation, and I found out that there is a model called AingDiffusion.
I'm going to give it a try right away!
contents
スポンサーリンク
abstract
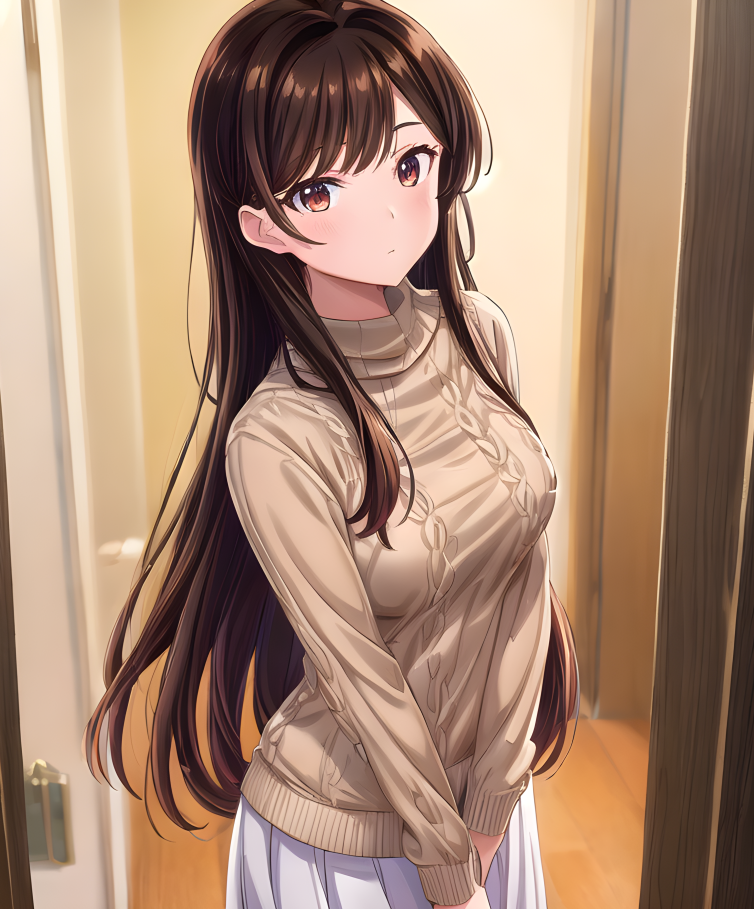
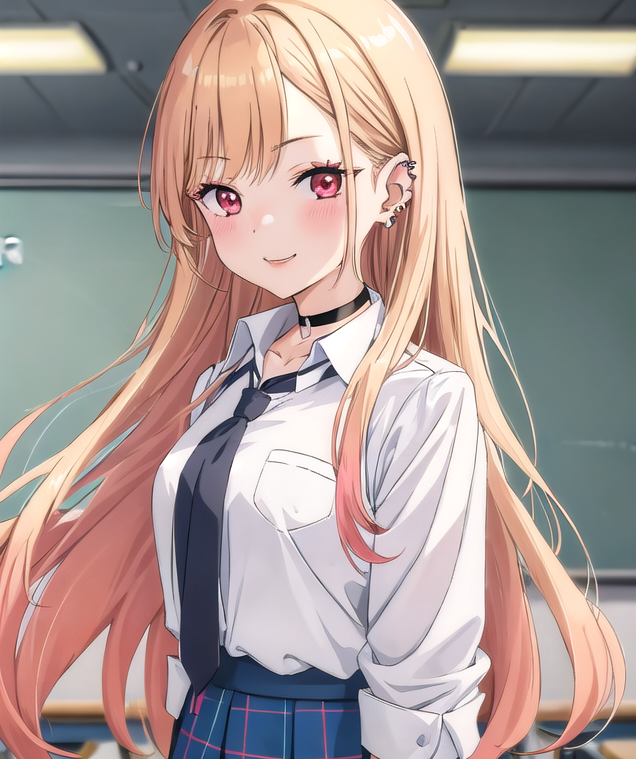
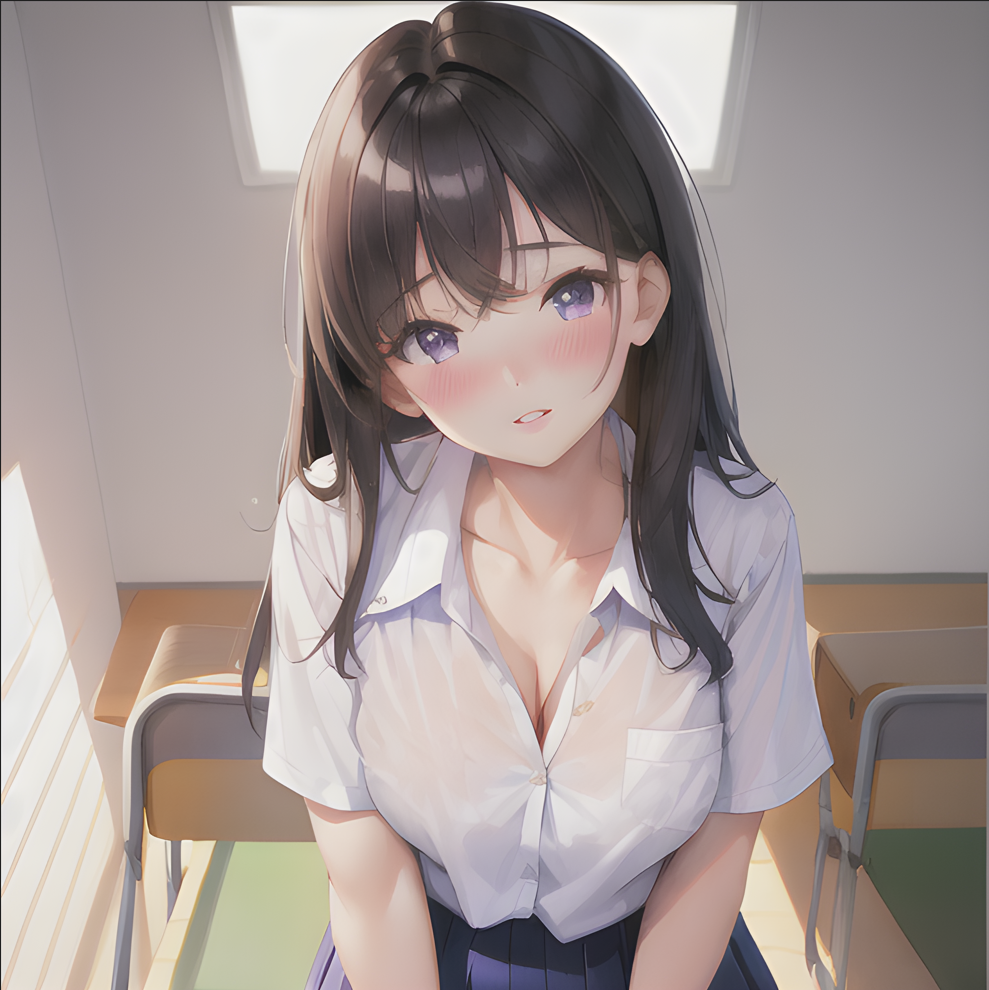
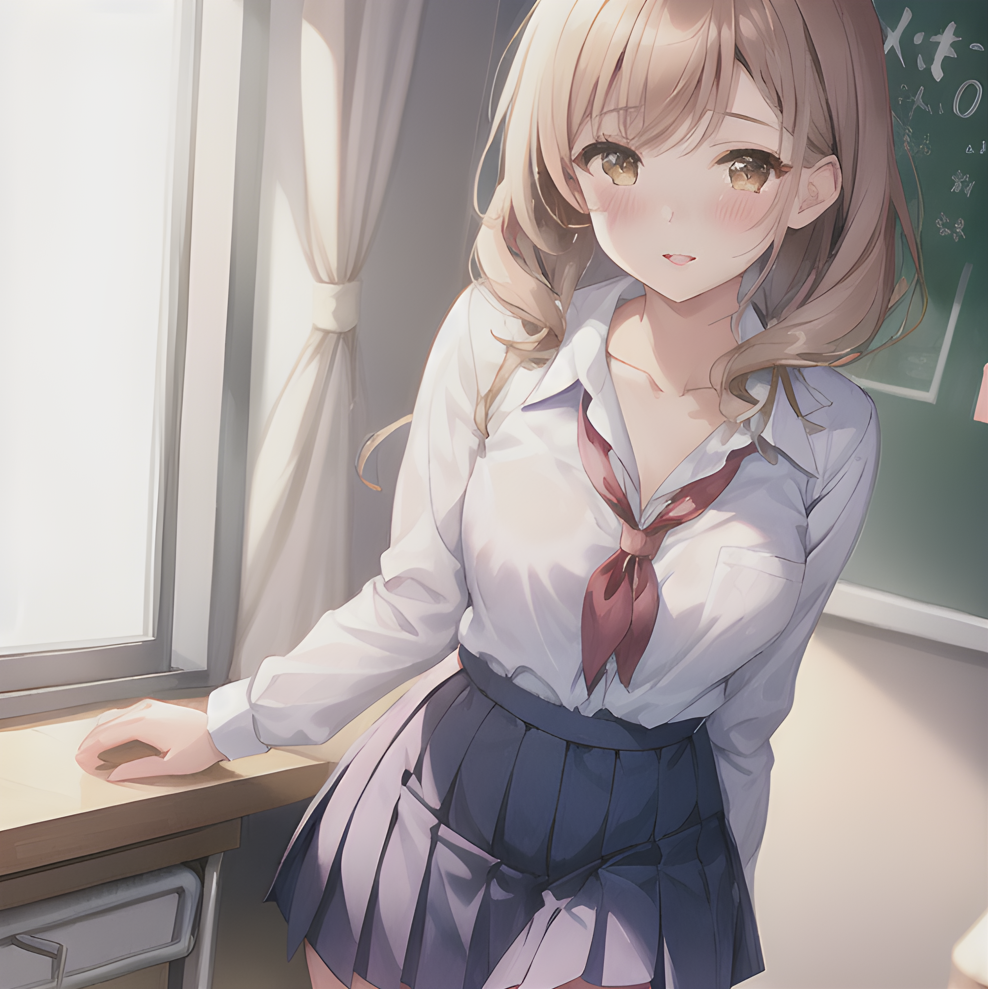
What kind of images can be generated using creationmix with google colab and dfiffusers
1.requirement
Google Colab
Diffusers
transformers==4.26.0
model : creationmix v1
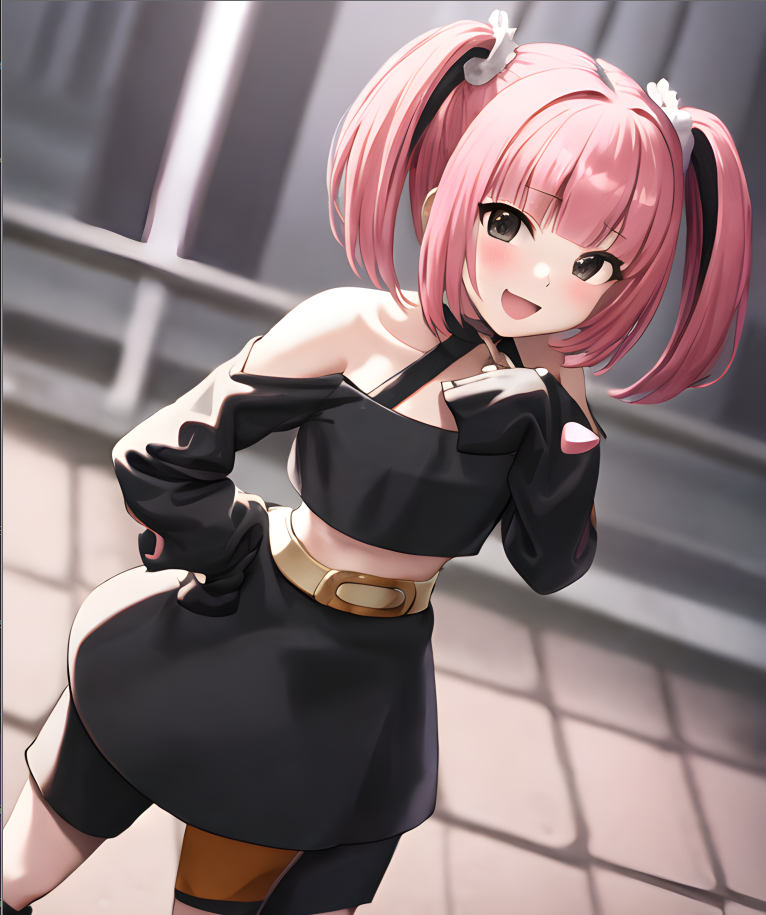
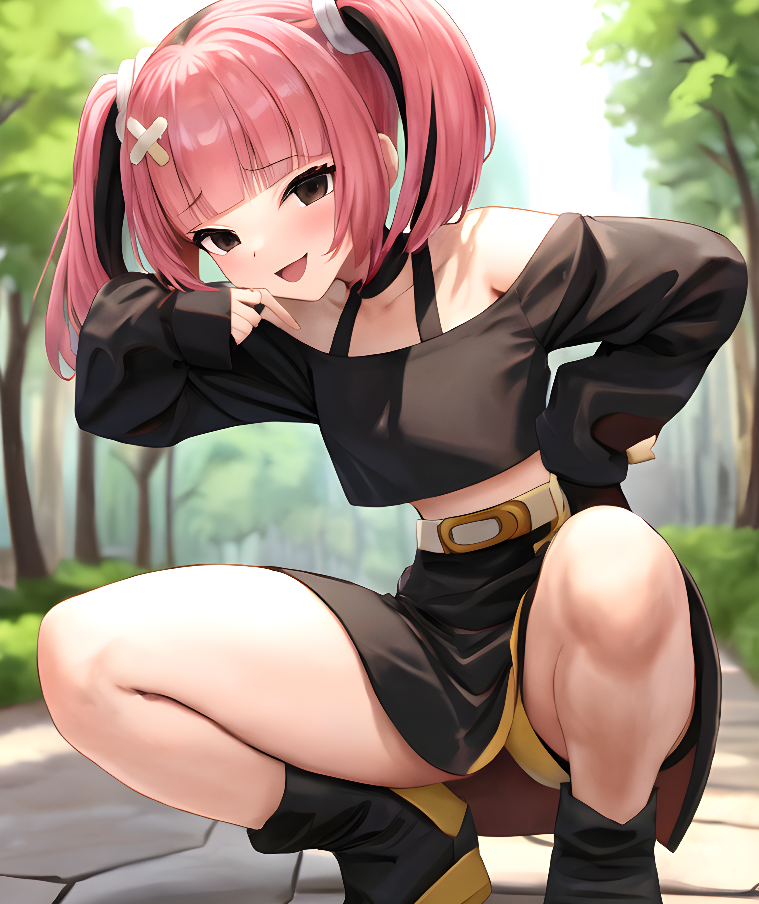
2.result
positive prompt
1girl, parted lips, blush, makeup, light smile, school uniform, classroom, light rays, glow, thighs, collarbone, narrow waist, (masterpiece), wallpaper
negative prompt
EasyNegative, sketch, duplicate, ugly, huge eyes, text, logo, monochrome, worst face, (bad and mutated hands:1.3), (worst quality:2.0), (low quality:2.0), (blurry:2.0), horror, geometry, bad_prompt, (bad hands), (missing fingers), multiple limbs, bad anatomy, (interlocked fingers:1.2), Ugly Fingers, (extra digit and hands and fingers and legs and arms:1.4), crown braid, ((2girl)), (deformed fingers:1.2), (long fingers:1.2),succubus wings,horn,succubus horn,succubus hairstyle, (bad-artist-anime), bad-artist, bad hand, too many hair, cat ears, animal ears

スポンサーリンク
3.refarence
https://civitai.com/models/68075/creationmix-v1-standard-illustration-style-checkpoint